
Direct-to-Film (DTF) printing has revolutionized the world of custom printing, offering vibrant colors, fine details, and durable designs. When it comes to printing on neoprene can koozies, DTF stands out as an excellent choice due to its ability to adhere well to the material while maintaining flexibility and durability. In this article, we’ll walk you through the precise steps and settings needed to achieve flawless DTF prints on neoprene can koozies.
DTF printing offers several advantages when printing on neoprene can koozies:
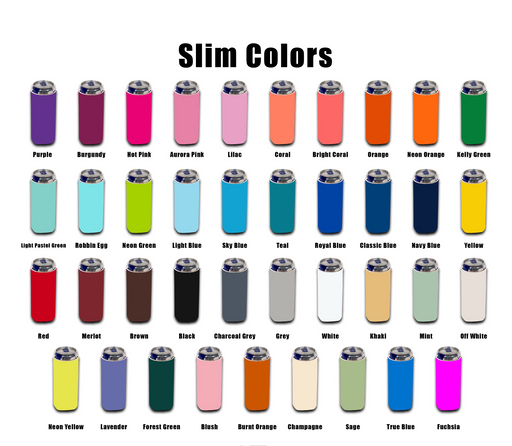
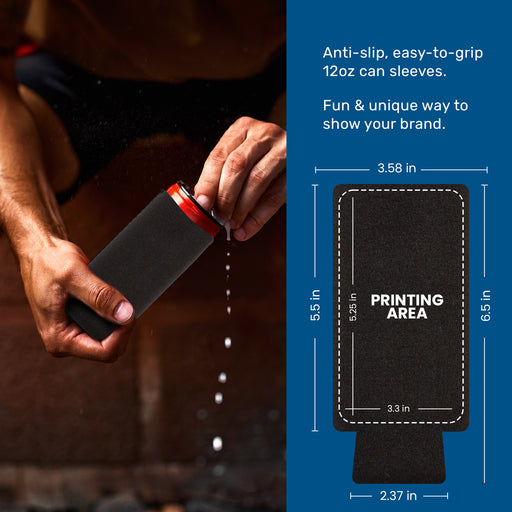
To achieve optimal results when DTF printing on neoprene can koozies, ensure you have the following:
Follow these detailed steps to print on neoprene can koozies using the DTF method:
To achieve the best results, adjust your heat press machine to the following settings:

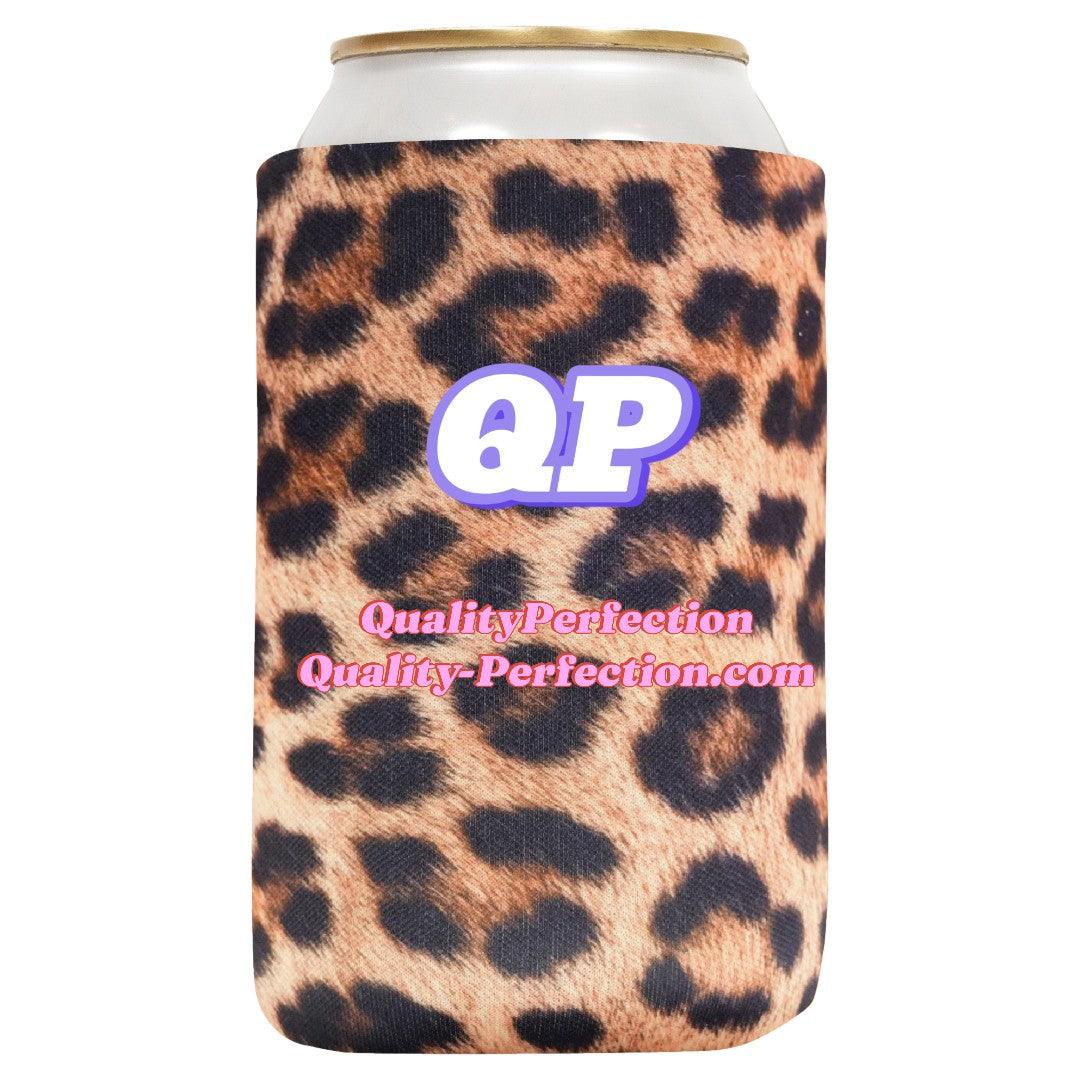
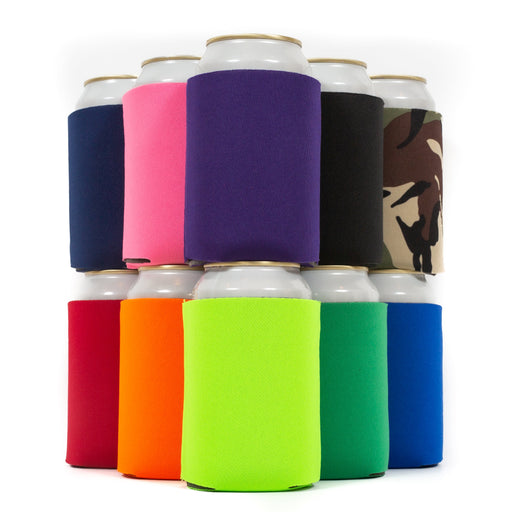
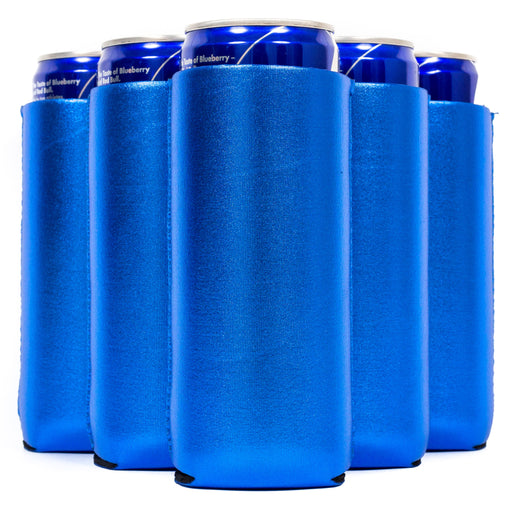
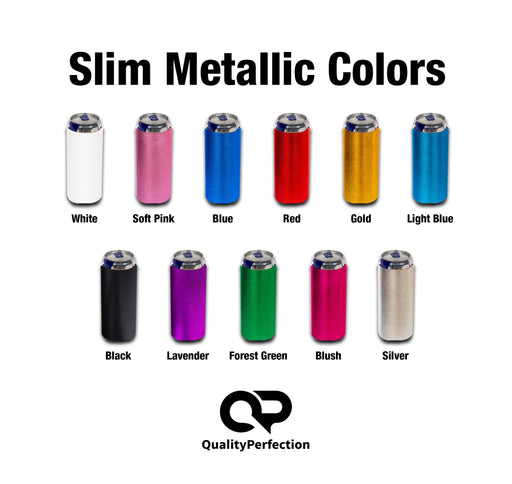
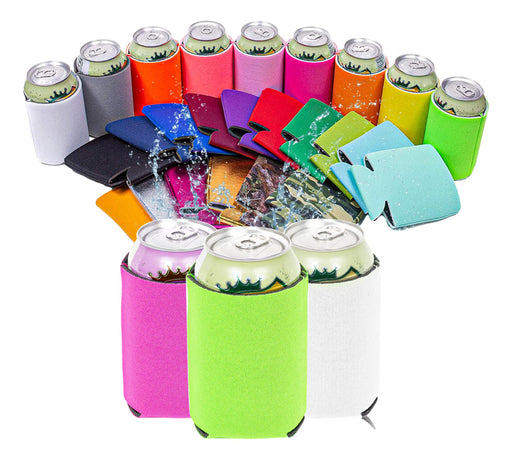
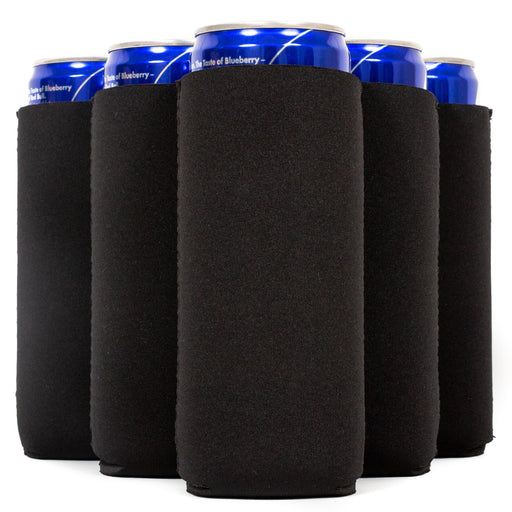
Typically ships out in 24 hours 2-3 days shipping time (free shipping) Product Details Premium 4mm Collapsible Slim Can Koozies Holds Most Slim...
View full detailsTypically ships out in 24 hours 2-3 days shipping time (free shipping) Description: Enjoy a cold beer, a spiked seltzer, or your favorite Beer D...
View full detailsTypically ships out in 24 hours 2-3 days shipping time (free shipping) Product Details FREE SHIPPING on this item over $45 Premium 4mm Collapsi...
View full detailsTypically ships out in 24 hours 2-3 days shipping time (free shipping) Product Details FREE SHIPPING on this item over $45 Premium 4mm Colla...
View full detailsTypically ships out in 24 hours 2-3 days shipping time (free shipping) Product Details Premium 4mm Collapsible Slim Can Koozies Holds Most Sl...
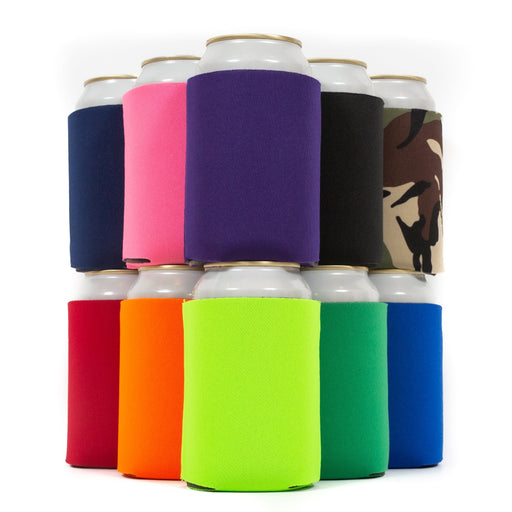
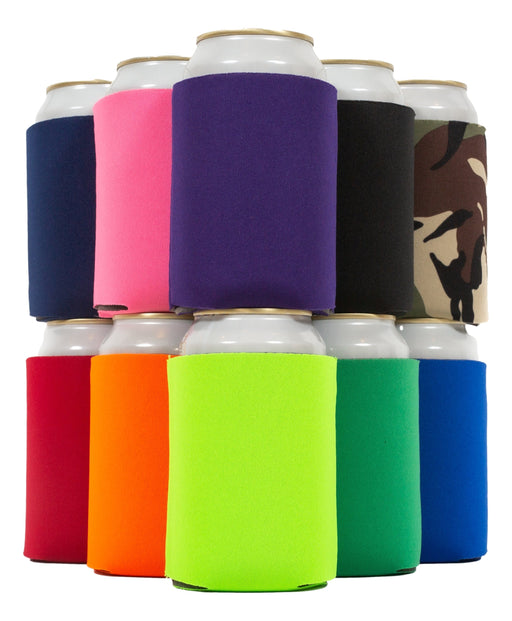
View full detailsEnjoy a cold beer, a spiked seltzer, or your favorite Beer Drink flavor while keeping it cold, crisp, and delicious with a QualityPerfection can co...
View full detailsTypically ships out in 24 hours 2-3 days shipping time (free shipping) Product Details Premium 4mm Collapsible Slim Can Koozies Holds Most Slim...
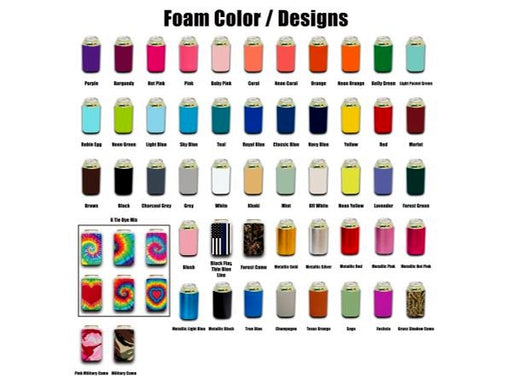
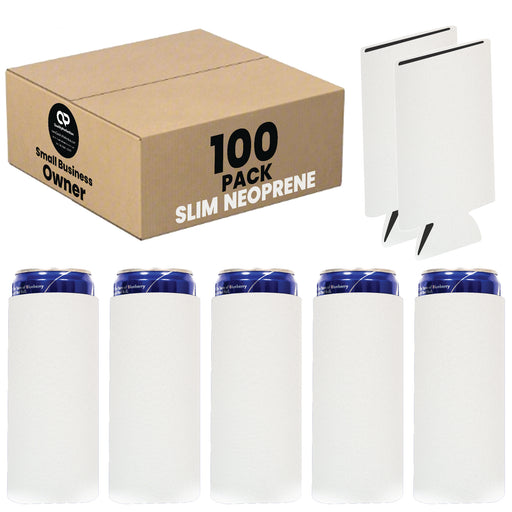
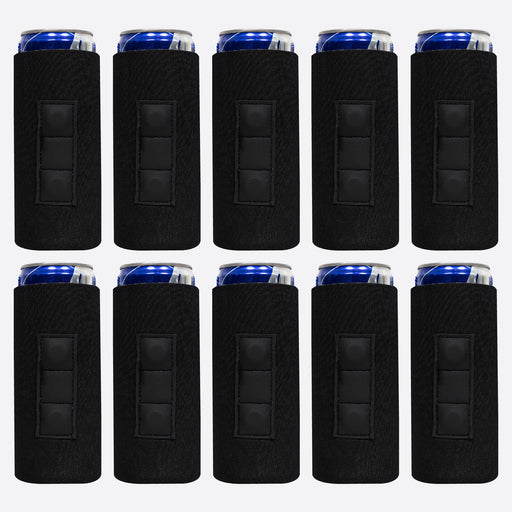
View full detailsSamples - Might be with colors defects or print, We choose them randomly. Neoprene and foam are not the same shades of colors. The price is for 100...
View full detailsTypically ships out in 24 hours 2-3 days shipping time (free shipping) Product Details Premium 4mm Collapsible Slim Can Koozies Holds Most S...
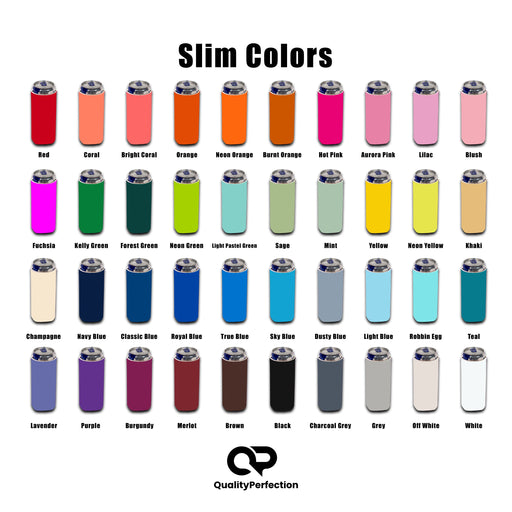
View full details3 Magnets Slim can cooler sleeves FREE SHIPPING on this item over $45 Premium 4mm Collapsible Slim Can Coolers Holds Most Slim 12 oz. Cans Col...
View full details


Leave a comment